Friday 24 May 2013

Evaulation

Finalising the project of iBook and website. I am content with my final outcome of my ibook and how the project has unfolded. At first I was excited for getting earthquakes as my topic but as the idea developments went a long I found it was harder than what other topics would be for making a 'visually exciting' design as the brief states. This is because there isn't a consistent theme of strong photographic images which you can base a design around. Especially for my chosen focus which was what causes earthquakes, how its recorded and the outcome of them. There not visually exciting focus' but I chose the focus because I think it is interesting to learn myself and had a good visualisation for making animated diagrams. Of course there is lots of strong photos of damages earthquakes cause, but I couldn't  base a theme round these because there just not consistent in terms of colours and style. So for my outcome page thats where I could have a lot of strong visually exciting elements which I think I did achieve in my iBook with videos and an interactive world map. 

My theme was to have a clean and professional look; I chose this because the target audience was A level students which mean ages 16-18 so they are mature. My focus was very hard to base a photographic theme like most people in the class did for their topics. The brief stated this was for educational purposes so having a clean and professional theme arguably is an easier way to learn than having a more harder to read, inconsistent layouts, vibrant colours etc. My theme suits my chosen focus too, cause it is pretty much the science behind earthquakes so keeping it professional conveys the nice balance of science.

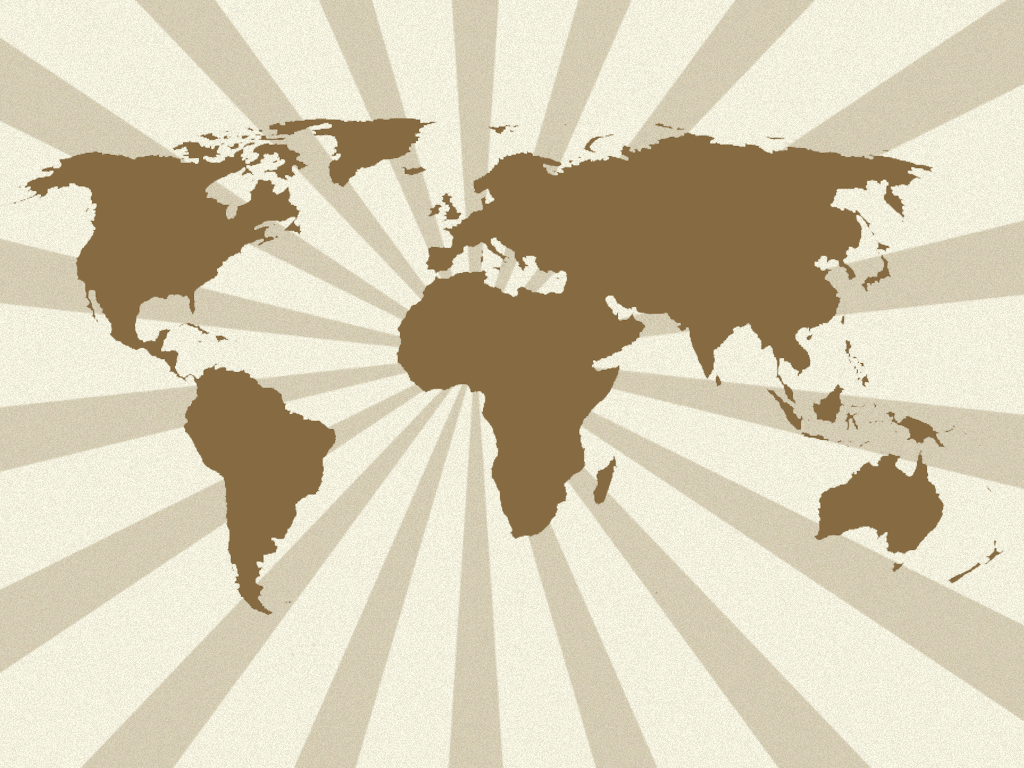
My colour and font choices I am happy with, I think the grainy browns work well for a professional theme, it doesn't look too boring and contrast nicely to the slick professional font choice I had. My wonders of nature font choice I think suits, it exaggerates and makes it stand out a lot. In my website I really like how its behind the faint sunburst, the combination worked well for me. 

Concluding my website, I have found it difficult to learn the html language and build the responsive website. I encountered so many problems, all I need help from George to sort out. This has been the most challenging task of this project by miles, the hardest project out of the whole year in my opinion. I still have a week to finish the website and at the moment all problems have been fixed, I have learnt through the problems how to fix them so my knowledge so far should be okay to get through and finish the website into a reasonably nice looking and responsive website.

Concluding my iBook, I think it is okay but for my chosen focus it was hard to make it fun and visually exciting. So for how professional and scientific my theme was. I chose to make animations which I don't think anyone else did so that was a strong point of my ibook. I would say my iBook is interactively rich but visually not as exciting as others in the class. My interactive Richter Scale was a nice fun interaction in my opinion and i am happy with it as is different to everyone else's. I have a nice selection of videos which makes the iBook more fun. I didn't include widgets like word searches and create the image by sliding tiles because in my opinion they are pointless, for the target audience of A level students and this being educational, you don't learn from doing word searces or creating an image. I wanted to sustain my professional theme as strong as possible. The things I could improve on I think are having different backgrounds of the sunburst instead of having it in the bottom right corner each time. 
 
If I could do this project again, the things I would do differently would be probably choosing a different focus, I think for the brief it would of been more beneficial having a focus which would be photographically better to base themes around so it would make it easier to design for. But none the less I am happy with how the project has unfolded and my final designs. I enjoyed but also got frustrated learning web code, it was good to learn the skills of html. Creating the iBook was easy in my opinion and I liked doing that, but I don't think there is good range of widgets to chose from in my opinion, it would be better with a more variation.

Asset Register


Tuesday 21 May 2013

Changes after crit

The only feedback I got to improve was having a video library so I put this in, in the final chapter of outcome after the world map page.


I had this lay out which I think still looks clean due not having masses of text on page plus everything is central and in line.

The stars when clicked give a pop up description of the video, each one demonstrates difference aspects of earthquakes, the first one is about destruction they cause, the second one demonstrates sounds they make and the third one is a POV experience from someone in a car, all videos are really interesting and definitely improve this iBoo having them in.


My website is obviously still in development, we had a extended deadline for this so will be blogging the journey after fridays deadline.

Feedback Critique

After critting my iBook to the class I got some nice and positive feedback.

When projecting my iBook from the iPad, on the projector screen the iBook was very different to what it looked like on the iPad. My backgrounds where not showing due to how brighter the projector makes screens i didnt realise this. So George and everyone thought I had white backgrounds which was my first feedback saying it looked too clean having white background, I realised then the screen wasnt showing my backgrounds so i showed George and class my iBook from the iPad and George took back everything he said and gave purely positive comments. The comments I got from what I can remember was people saying they really liked the animations, the font, the grainy sunburst backgrounds. My world map page was some peoples strong points about my iBook.

The feedback I got what I could improve was George saying I needed some sort of video library, I agreed it needed it as earthquakes is a dramatic natural disaster. Some of the videos are very fascinating too which i'm definitely going to include in my iBook in chapter 3 the outcome section.


My website is unfinished due to an error I had in my code, one of my media queries wasnt responding to the css. I have no got this problem fixed due to some help with George. My layouts, breakpoints and home page was all finished though. All I need to do now is finish off the other pages.  

Website Progression


My website is looking pretty good so far in terms of layout structure, how it looks, readability and accessibility. I've sorted out the break points for the home page which looks like this.


As proposed the nav sits under the logo/header when broken down to iPad.


At mobile the drop down arrow which you click on and a drop down nav appears.


The page for the cause currently looks like this. its not really how I want the page to look but obviously its still in development.

iBook progression


For my iBook I wanted to keep the same theme as the website as I think thats important due to ethos and house style of brands. It keeps it professional. I wanted it to be more exciting than the website obviously as iBooks are made for interactivity; things you wouldn't be able to do in a normal book.

As I proposed I want lots of animation and video in my iBook, as in my opinion thats the most exciting media there is, also animations are a better way to learn from when illustrating a process through diagrams as dynamically you can see the actions instead of trying to visualise a action though a static image.


My first page I made for chapter, the cause of earthquakes looked like this. I stuck to my wireframe I proposed by having the two column layout. I wanted the iBook to look clean, whilst being grainy. Keeping to my consistent professional theme, my target audience was my most important factor for my choice of decisions. If it was for a level students, then the iBook should be professional, not childish while being fun and interactive.

My first chapter has a consistent layout throughout, with a animation on each page.

I made the animation in motion, taking the illustrations of the diagrams i drew in illustrator, taking out some of the elements such as the arrows. Taking the arrows and saving them out as separate png's then dumping the arrows in a separate layer in motion which I then applied the motion too.


I done the same process for this animation by saving the arrow out as a separate png


Same again for this animation.


For this one I had to cut round the static illustration and save out two differnnt png's one png of the left plate and another of the right plate and move them evenly.

For the waves I had to save out three different pngs, of different parts of the waves, then in motion bring each one in a second later chaning the opacity so it look like moving waves from the centre.


My title pages look like this, I wanted to keep them clean and professional so I just kept a nice simple, easily readable page with the title text perfectly centred in the page.


Chapter 2 currently looks like this, keeping the consistent layout, this time having a youtube video in to demonstrate what a seismograph looks like and works.


My richter scale idea of having the interactive measurements shaking the shape was successfully made. I made this in keynote, using the tool Magic Move. I basically made 6 slides and on each slide using magic move I moved the square right and left on each slide and hyper linked the '1' button so it would go to the begining of the slide, so when clicked the magic move automatically goes through the 6 slides, at a speed of 0.5 seconds I think so the square looks like its shaking. I repeated this for 5 buttons, So I ended up having 30 slides, and on each measurement the square obviously shakes more or less according to the measurement on the Richter Scale. I was happy with this little function cause its different from everyone else's iBooks, and no-one else has anything similar, so it creates a more different aspect and variation. Rich in interactivity was my influential to having this in the iBook.


My last chapter of the outcome, I successfully made my world map which looks identical to the one I sketched. The little black star pin points are interactive, when clicked the information of a eventful earthquake of the twentieth century pops up.


When a black star is clicked it will look like this. The title, location, magnitude measurement, deaths and casualties and a picture come up.


Monday 20 May 2013

Illustrations

Causes of earthquakes 
My illustrations where based on the ones off the earthquakes guide from the bbc website:
http://news.bbc.co.uk/1/hi/sci/tech/7533950.stm

I traced them in illustrator but modified them to my own style because i didn't want to directly copy them.


This illustration shows the different cores inside the earths centre.
 This one is showing movement of mantle inside the earth.


This one shows the movement of plates.


This is showing movment again with two plates causing faults alongside each other.


This is demonstrating where the point of friction is, obviously.


This one is showing where the hypocentre is with a little illustration demonstrating tension and pressure.


This last one is representing the radiation waves from the epic centre, i done the waves by making paths between circles and slicing the edges off.

Backgrounds - Website

Where the logo is sitting in the header I made this brown faint sunburst for it to sit in. From my research im taking an element i used as inspiration and I think it looks nice in the website. It was done in photoshop using a brush downloaded from brusheezy for the sunburst effect.


The nav is the same brown grain just without the sunburst.


The background is a light cream grain easily done in photoshop.


Backgrounds - iBook

For my ibook the standard background is the same as the website, using the sunburst brush again from the corner then graining it and dropping the opacity in photoshop.


My outcome chapter with the world map looks like this. I done this by making the grain sunburst background in the same way as the others. I then grabbed a plain white and grey word map template off google, brought it in photoshop, used the magic wand tool to crop just the countrys then put a brown colour to it.